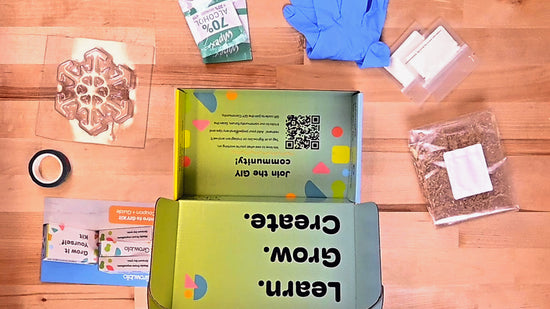
Mini Bag Instructions (GIY Kit or Mini Bag Teacher Bundle)
Step 1: Mix
-
Prepare
Open your GIY Kit or Teacher Bundle and remove contents in preparation to grow. Before you begin, gather measuring spoons, water, and scissors.
-
Sanitize area
Wipe down the table, gloved hands and all tools with one of the provided isopropyl alcohol wipes. Save the second alcohol wipe for work area cleaning when starting Step 2!
-
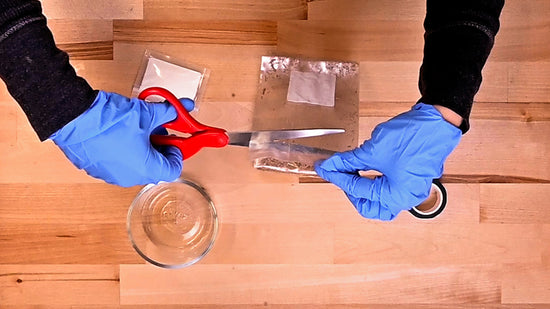
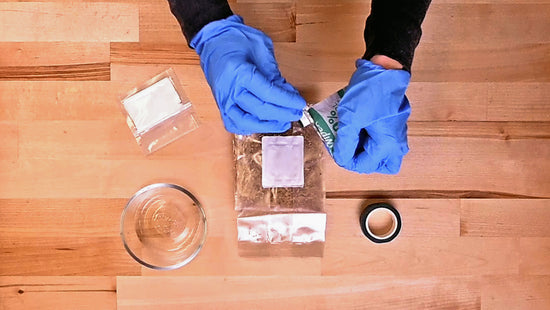
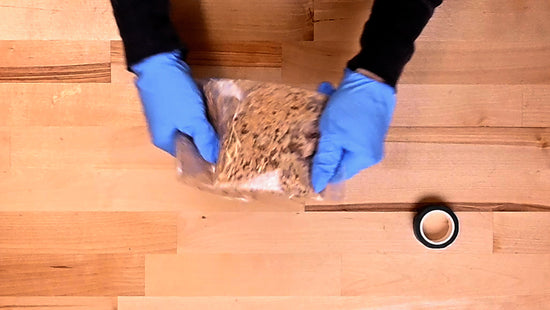
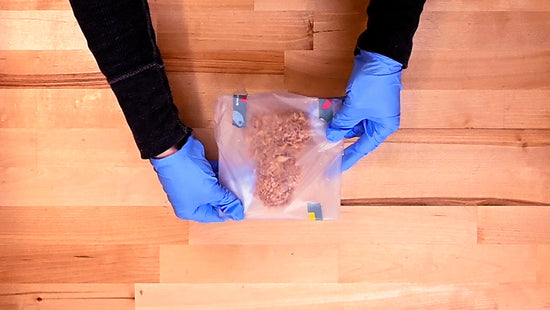
Cut open bag
Cut open your bag of GIY material above the white filter patch.


-
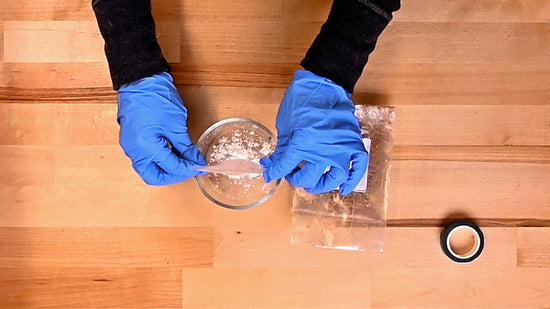
Add Flour and Water
Measure 9 teaspoons water and add 2 g of flour and mix into a slurry.
(Measured flour included in GIY kit. Use one measured bag during this step and save your second packet of flour for later use in Step 2!)
-
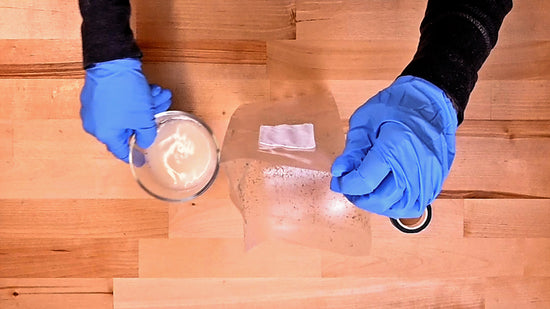
POUR INTO BAG AND SEAL
Once mixed, pour into the bag of GIY material.
Roll the top of the bag down, stopping above the filter patch and tape to close. -
Shake & Grow for 3 - 4 Days
Shake the bag for 1 minute to hydrate thoroughly.
Let bag grow for 3-4 days until white in a clean area, out of direct sun, with a room temperature at 72° F. Allow an additional day of growth if not wellgrown after 4 days.


Step 2: Grow
-
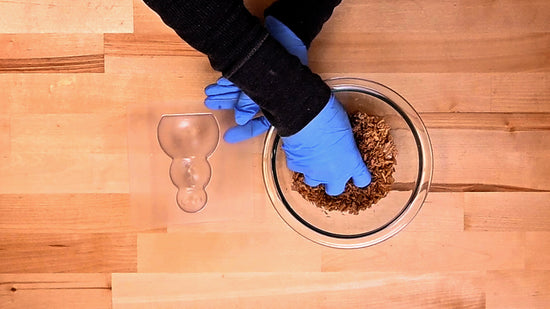
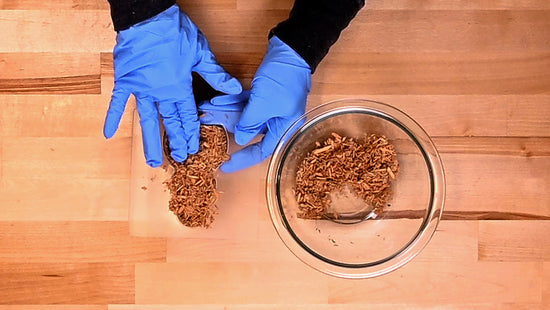
Break up material
Add material to a large bowl and break up all the chunks. We call this step “regrinding.”
Sprinkle in flour 2 g of flour and mix well. (If using GIY kit, use your second pre-measured bag of flour)
-
Pack the Form
Add material to the growth form and pack down as you continue to add more layers.
Place a sturdy flat sheet on top of the form and tap all over to smooth the fill surface.
-
Grow for 5-6 Days
Cover the form with plastic wrap or a lid and poke a few small holes for respiration.
Grow until fully white again in a clean area with the same growth conditions as step 1.


Step 3: Pop & Pod
-
Pop
Flip the growth form upside down and tap until the grown part “pops” out of the form.
-
Pod
Seal part in a roomy plastic bag with a cup of water to grow for 1 day to create a white, fuzzy overgrowth on the mycelium part.
The following step is optional...
Step 4: Dry
-
Prepare to dry
Remove from the overgrown part from the pod and place on a baking sheet.
-
Dry
Dehydrate the part at 180° F for for a few hours, checking every 30 minutes until dry.